Charlieplexing Explained!
Control Many LEDs with Few Pins
💡 Why Charlieplexing?
🧠
Control n × (n − 1) LEDs with n Pins
3 pins → 6 LEDs | 4 pins → 12 LEDs | 8 pins → 56 LEDs
⚙️
Lower Cost, No Extra Hardware
Use cheaper microcontrollers • Simpler PCB layout • No shift registers needed
📚
Great Learning Example
Learn current flow • Diode behavior • Tri-state logic (HIGH, LOW, Hi-Z)
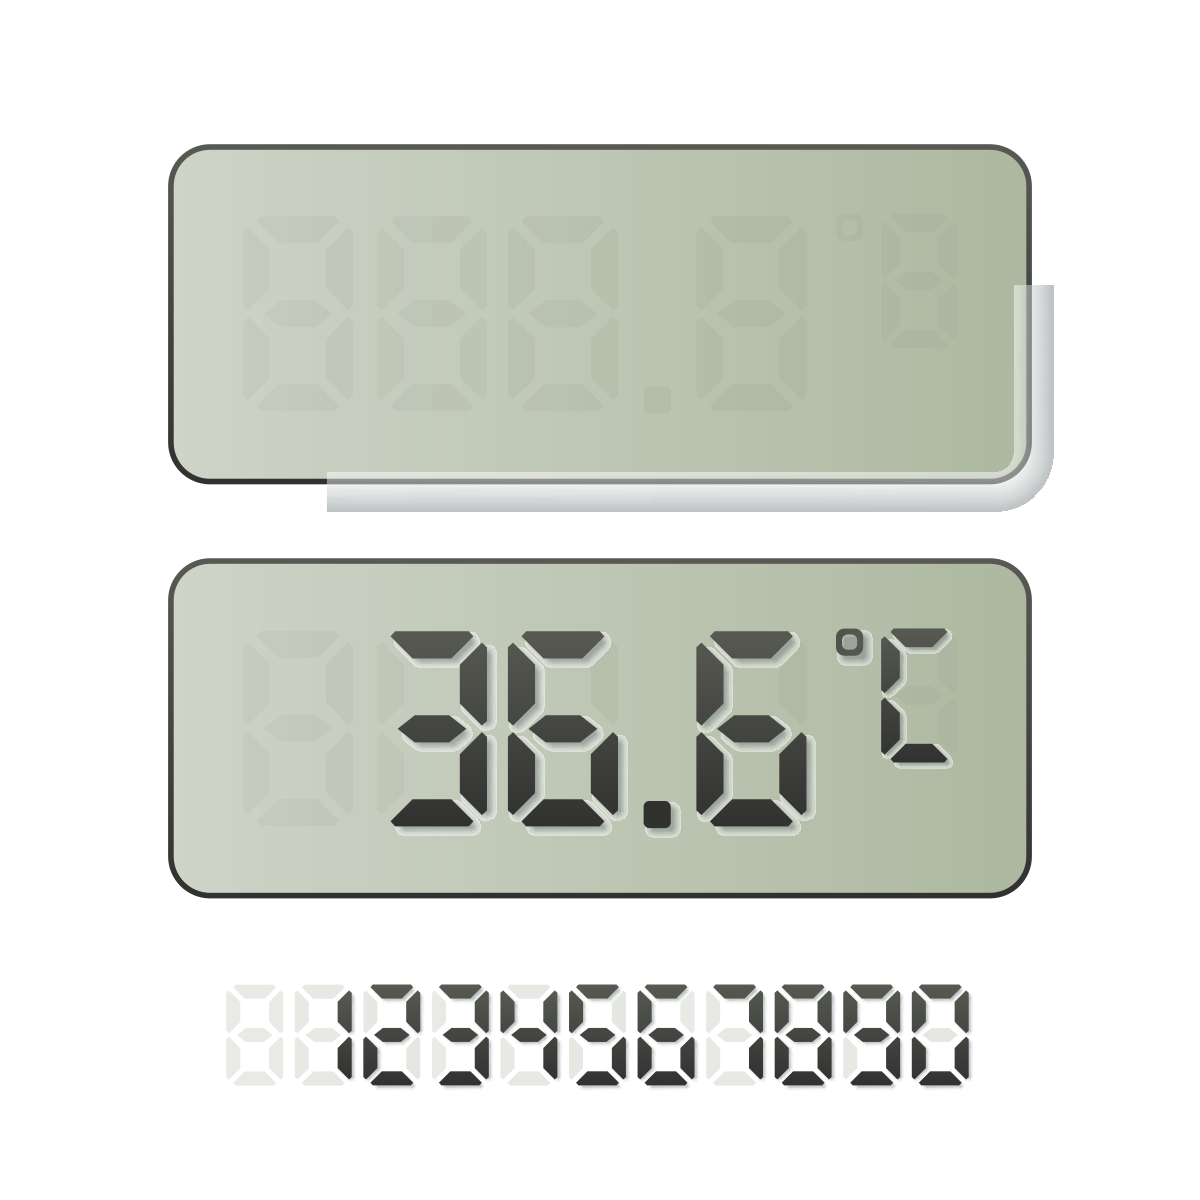
💡 Perfect Real life Example: 7-Segment Display with Charlieplexing
Charlieplexing lets you control n × (n − 1) LEDs using only n pins!
• With 3 pins, you can control 6 segments.
• With 4 pins, you can control 12 LEDs — enough for all 7 segments plus the decimal point.
This saves I/O pins, but remember: only one LED lights at a time, so software must refresh them quickly to look steady.
🔌 Interactive Circuit Demonstration
Select LED:
LED 1 of 6
🔗 Learn More & Try It Yourself
Explore hands-on simulations and video tutorials to deepen your understanding of Charlieplexing.
🔧
Tinkercad Simulation
Interactive Arduino circuit simulation - build and test Charlieplexing yourself!
Open in Tinkercad📺